We’ve teamed up with Molly, early years primary teacher and founder of @create_make_and_play, a wonderful learning resource to encourage children to flourish and learn through play based activities.
Here, she shares some sweet, Valentines inspired arts and crafts activities to keep busy little ones entertained during the holidays.
There’s five to choose from, one for each week day, so why not have a go at them all or choose your favourite and spread the love this half term.

First up, this cute activity using one of our lovely wooden trains, or similar toy vehicles.
The perfect toy to encourage small world play, they help to foster imaginative thinking and creativity as well as develop communication and language skills.
These paper flowers are so effective and super easy to make. Can you deliver them to someone you love, like a family member, friend or neighbour?
You will need:
- Coloured paper (use red or pink for a Valentines theme)
- Green pipe cleaners
- Scissors
- Wooden Train
Ready, steady, craft:
- Take a piece of coloured paper and draw 3 heart shapes, roughly the same size.
- Now, take your scissors and cut out the heart shapes. Make sure you supervise little crafters when scissors are used.
- Fold each of the hearts in half.
- Next, start to stick each half of the hearts to another heart to create a pretty rose effect with 3 hearts in total, as shown here:
Note: Before you stick the final 2 halves together, place a green pipe cleaner into the middle to create the stem.
- Create a loop half way down the stem and twist it to create a leaf effect, like so:
- Finally, wrap the stem round each train carriage to help securely deliver the flowers to your favourite person ❤️

- Love Bug Puppet Show
Put on a show with these adorable love bug puppets, the perfect setup for a Valentines inspired craft and a fun play session all rolled into one. Imaginative play is a great way to help develop essential language and listening skills as well as turn taking, communication and independent thought.
Our amazing showtime puppet theatre makes a stunning backdrop of course, or make a simple version using a cardboard box opened at both ends to create a stage effect.
You will need:
- 2 pieces of A4 card
- Scissors
- Stapler
- Pipe cleaners
- Pencil
- Felt tip pens or crayons
- Stick on googly eyes (optional)
- Glue
Ready, steady, craft:
- Take the 2 pieces of A4 card and place them on top of one another.
- Now, fold the pieces of A4 card in half.
- Next, take your pencil and draw half of a heart shape along the folded line, like so:
- Take the scissors and cut out the shape you have just drawn to create a heart shape, as shown here:
Note: Remember to always supervise little ones when the scissors are out.
- Keeping both hearts on top of each other, take the stapler and carefully staple around the edges, leaving a hole at the bottom (keep the hole big enough for a small hand to fit inside), as you can see here:
Note: To make little legs for your bugs, insert pipe cleaners as you go along and staple securely ensuring there are no sharp edges.
- Get crafty and create some fun love bug faces using a pen and stick on some googly eyes if you have them.
- Insert your hand into the bottom of the ‘love bug puppet’ and act out your puppet show!

- Love Bug Sponge Printing
Roll up those sleeves and get ready to paint. We adore this fun and simple craft activity that’s sure to inspire budding future artists. Introducing kids to art from an early age aids cognitive development, concentration and helps to develop fine and gross motor skills. Our perfectly sized wooden table and chairs set makes the ideal studio setup for activity based fun like this.
You will need:
- Sponges
- Scissors
- Paints (tubes of child safe poster paints are a good option)
- Paper plates
- Paper
- Felt tip pens or crayons
- Googly eyes (optional)
Ready, steady, craft:
- Take the sponges and cut them into rough heart shapes using the scissors. Don’t forget to watch little fingers and supervise kiddies when the scissors are used.
- Help little ones to pour/squeeze out a good amount of paint onto each plate.
- Take your sponges and let your crafters dab them into the paints and then onto the paper to make a unique picture or pattern.
- Leave your creations to dry and then draw on funny faces, the bugs legs and add googly eyes if you have any.
- Display your wonderful art and invite grown ups to come along to your art gallery or why not turn them into a Valentines card for a loved one.

- Ice Cream Love Heart Cards
Another great table based art and craft is this yummy looking ice cream love heart card activity. Serve up a scoop of fun whilst encouraging creativity and aiding social and emotional development through concentration and relaxation.
For little sweet tooth's, our beautiful, vintage inspired ice cream trolley is a real showstopper and makes a wonderful backdrop that’s sure to inspire many magical role play adventures.
You will need:
- White A4 Card
- Scissors
- Pen
- A peg
- Cotton wool balls or pompoms
- Paints
Ready, steady, craft:
- Take your piece of A4 card and fold it in half lengthways.
- Now, using the pen, draw half a heart along the folded line, then using your scissors, cut it out so that you are left with a full heart. Make sure you supervise little crafters when scissors are used.
- Using your pen, draw the outline of 2 ice creams (one ice cream should fill one half of the heart) like this:
- Take a peg and pinch hold of a cotton wool ball or pompom.
- Then, use this to dab it into the paint and then onto your card to create your ice cream painting.
- Once dry, fold your creation in half so that the ice creams create the back and front of your card.
- Write a sweet message inside and make someone's day 🥰

- Easy Peasy Baked Jammie Dodger Biscuits
Mini master chefs will love lending a helping hand in the kitchen with this cute recipe for delicious homemade jammy dodgers, a perfect treat to enjoy together.
You will need:
- 227g unsalted butter (softened)
- 2/3 cup granulated sugar
- 2 large eggs
- 1 teaspoon vanilla extract
- 2 1/4 cups all-purpose flour
- 1/4 teaspoon salt
- 1/2 cup strawberry jam
- 2 bowls
- Weighing scales
- One large and one small heart shaped cookie cutter
- Baking paper
- Baking tray
- Cooling rack
- Cling film
- Rolling pin
Ready, steady, make:
- Add the butter and sugar into a bowl and mix together with a spoon until soft and creamy.
- Now add the eggs one by one and mix.
- Next, add in 1 teaspoon of vanilla extract.
- In a different bowl, pour in the flour and salt and mix.
- Take the contents from the first bowl and slowly add to the flour mix, stirring as you go. Keep mixing until it forms large, dough-like clumps. Add more flour if the mixture seems a little too wet.
- Tip the dough out onto a chopping board and form into a ball using your hands.
- Flatten the dough out, then wrap it in clingfilm and place in the fridge for around half an hour, until chilled and firm.
- Preheat the oven to 350°F/176°C.
- Cut a large piece of baking paper, place the dough on top and roll out to around 5-6mm thick.
- Use a heart shaped cookie cutter to cut out your cookie shapes. Make sure you have an even number of cookies.
- Now, take a smaller heart shaped cookie cutter and cut out a heart shape from the middle of half of the cookies, like this:
- Place them in the preheated oven for 15-20 minutes, until the edges are golden brown but the cookies are still pale in colour.
- Place them carefully onto a cooling rack.
- Once cooled, place a small blob of jam into the centre of each of the cookies without a heart in the middle.
- To finish, place the cookies with the heart shaped cut out, on top to create a biscuit lid. Now make yourself a nice cuppa and enjoy your yummy treats.
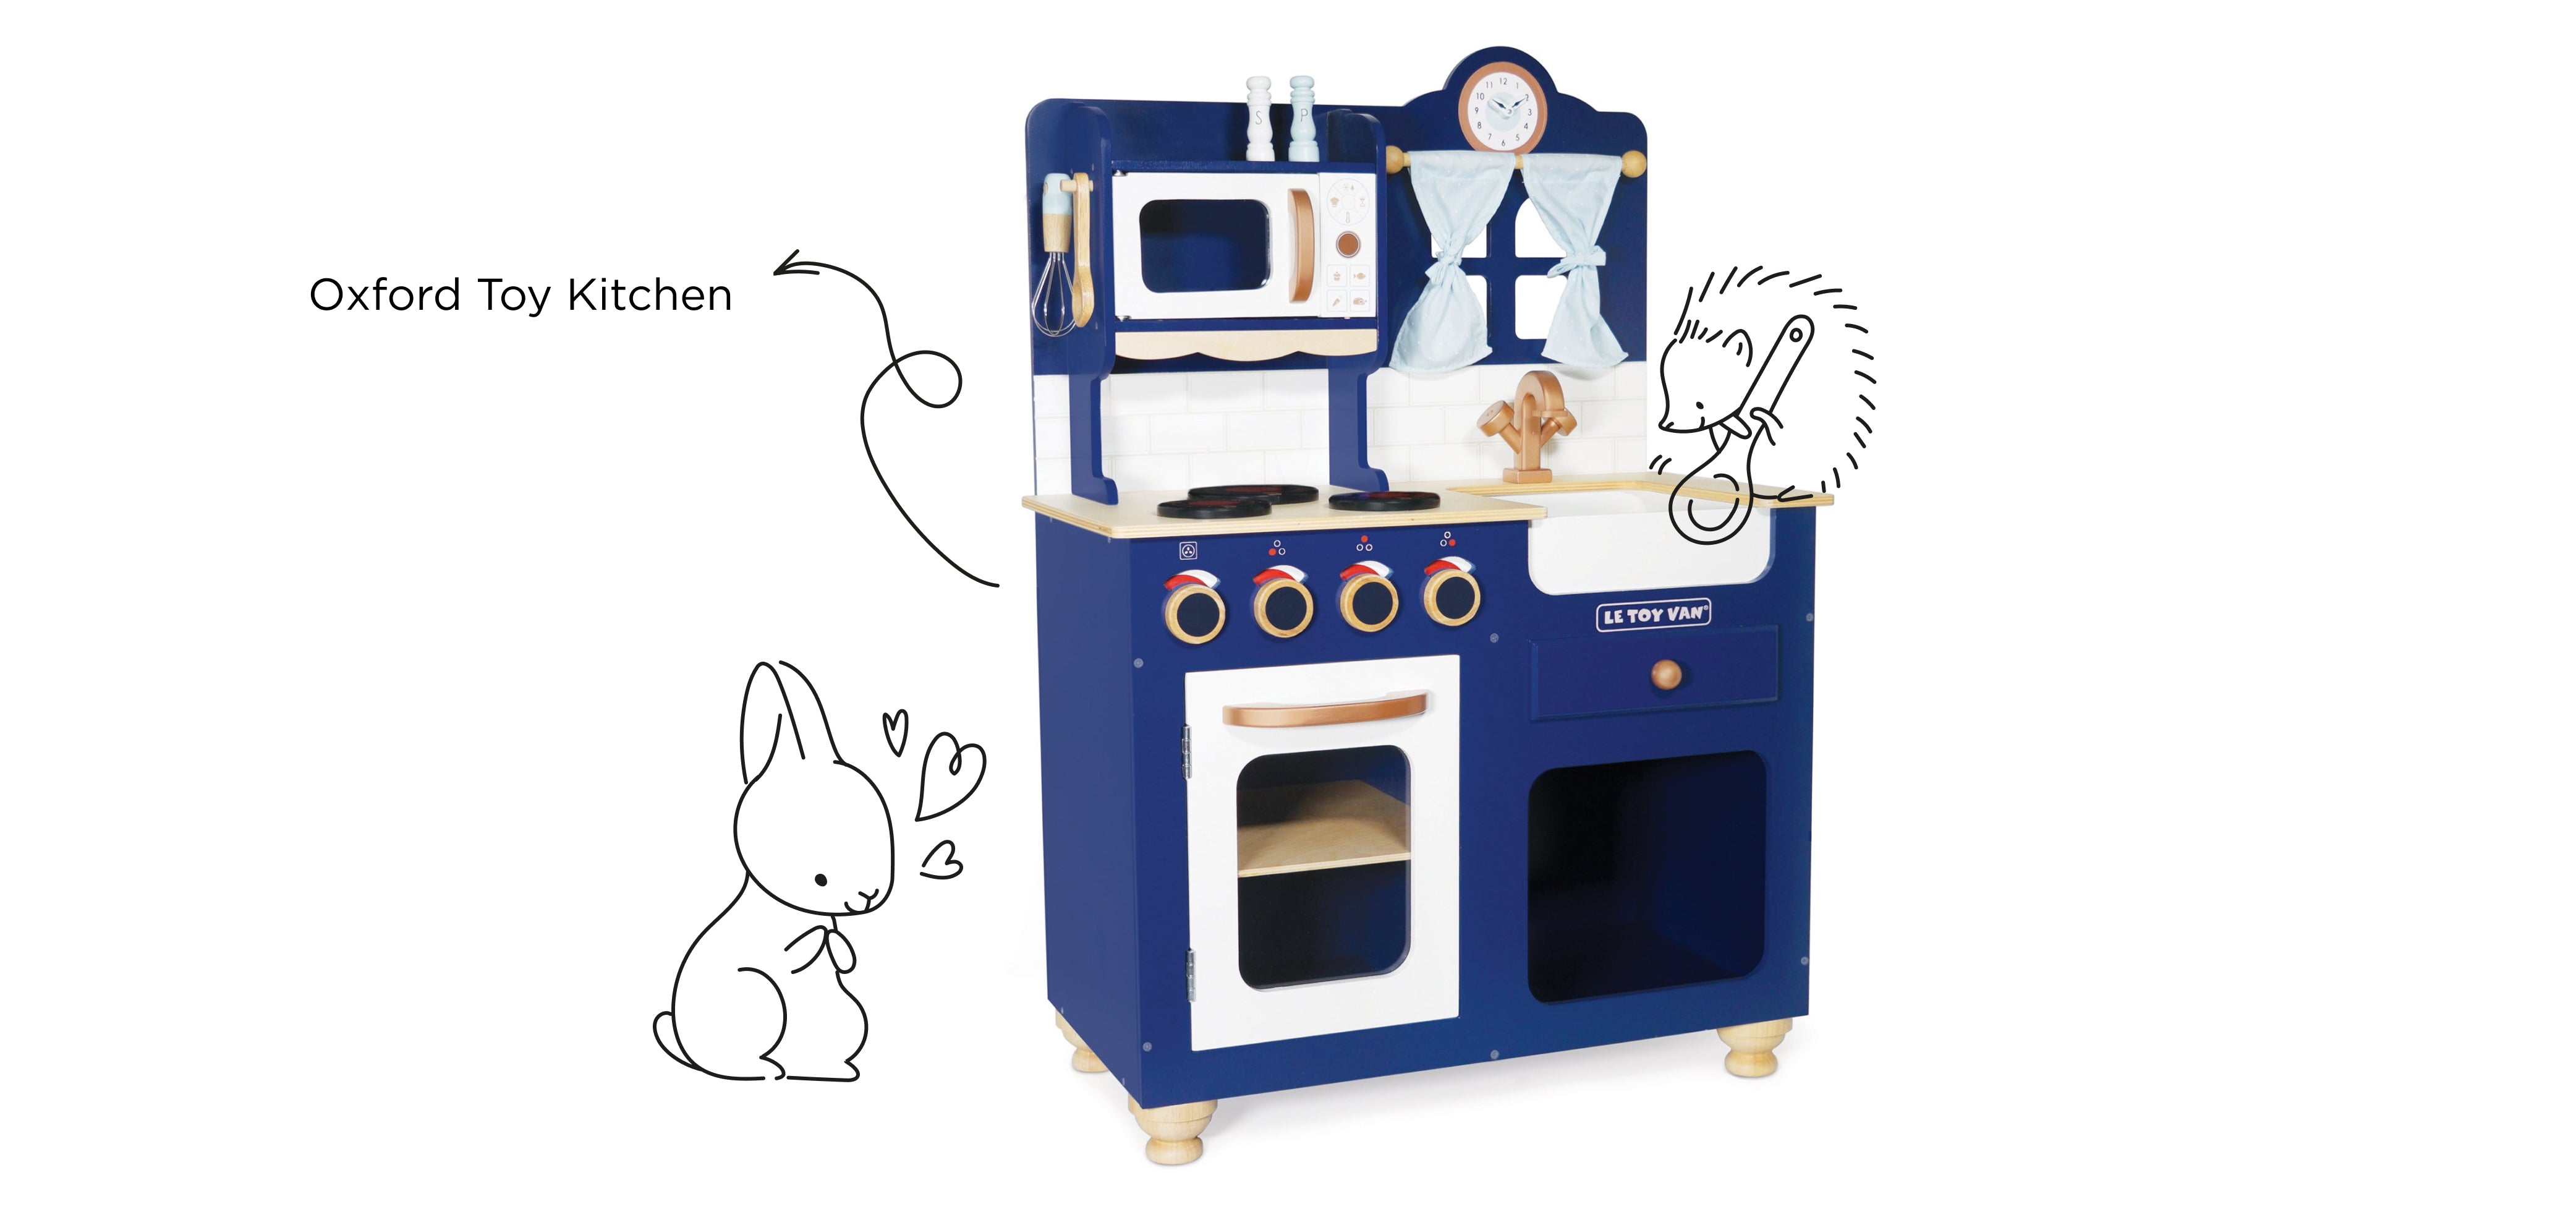
If your little one has a taste for baking, why not take a look at our range of beautiful wooden kitchens and cooking themed toys and accessories to tempt tiny imaginations.
For even more play inspo ideas, take a peek at our full collection of traditional, handcrafted wooden toys.
Thanks for stopping by. Be sure to keep in the loop on all things Le Toy Van by signing up to our newsletter. Don’t forget to follow along on Instagram too @letoyvantoys.


Share and get 15% off!
Simply share this product on one of the following social networks and you will unlock 15% off!